ARMORCELL Portable Solar Kits — User & Setup Guide
No tools. No adhesive. Roll it out, connect it, and let the sun do the rest. Everything below applies to the SK38H, SK150H, and SK275H portable kits.
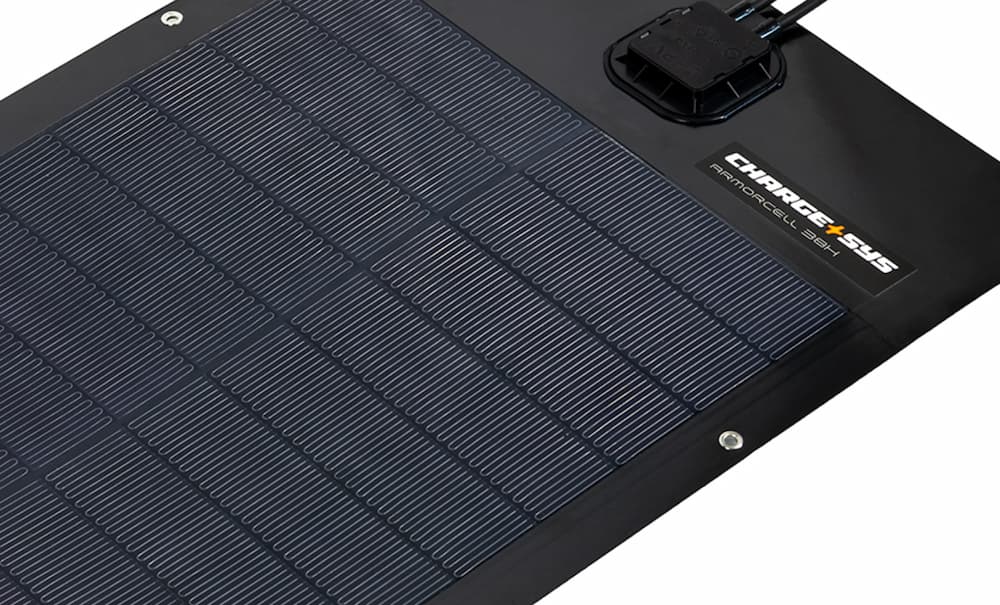
The panel makes power in any light. Keep it rolled or face-down until everything else is connected, and always wire battery first, panel last.
Never panel-to-battery
150H and 275H panels reach 45V open-circuit. Power must pass through the MPPT controller — an MPPT also reads the battery to set its own working voltage, which is why the battery goes on first.
Fuse and fuel vapor
Keep the 25A inline fuse in circuit. Make no battery connections where fuel vapor may be present — bilges, engine bays, fuel lockers, closed garages — and work in ventilated spaces.
Know Your Kit
Everything arrives in one 12-inch cylindrical carry bag: the panel rolled up and held with its velcro cinch straps, cables and controller in the accessory bag.
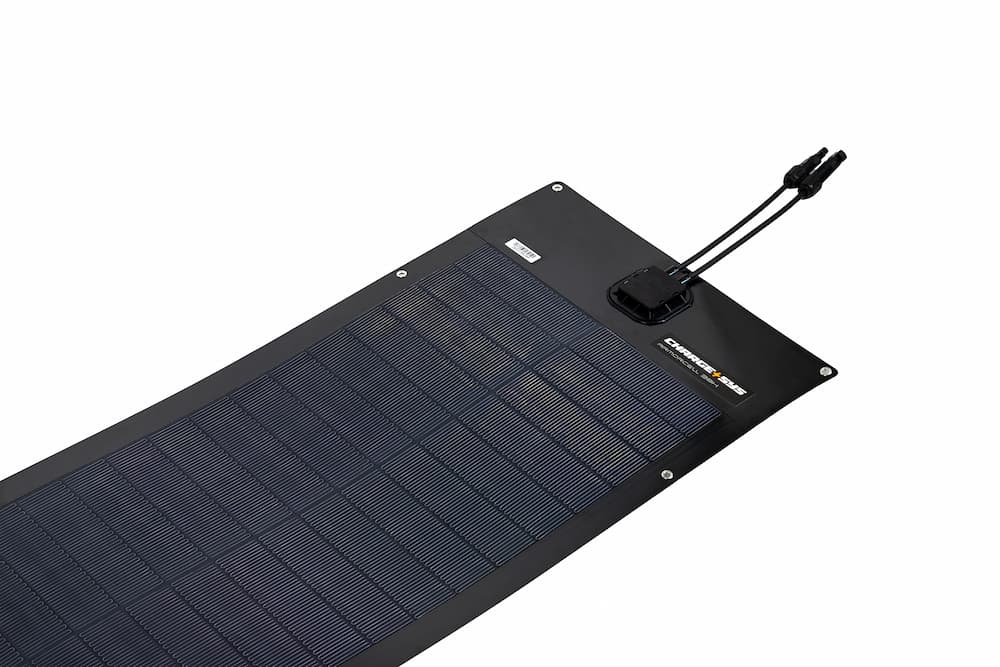
Flexible CIGS thin-film, smooth non-adhesive back, stainless grommets on all four sides.
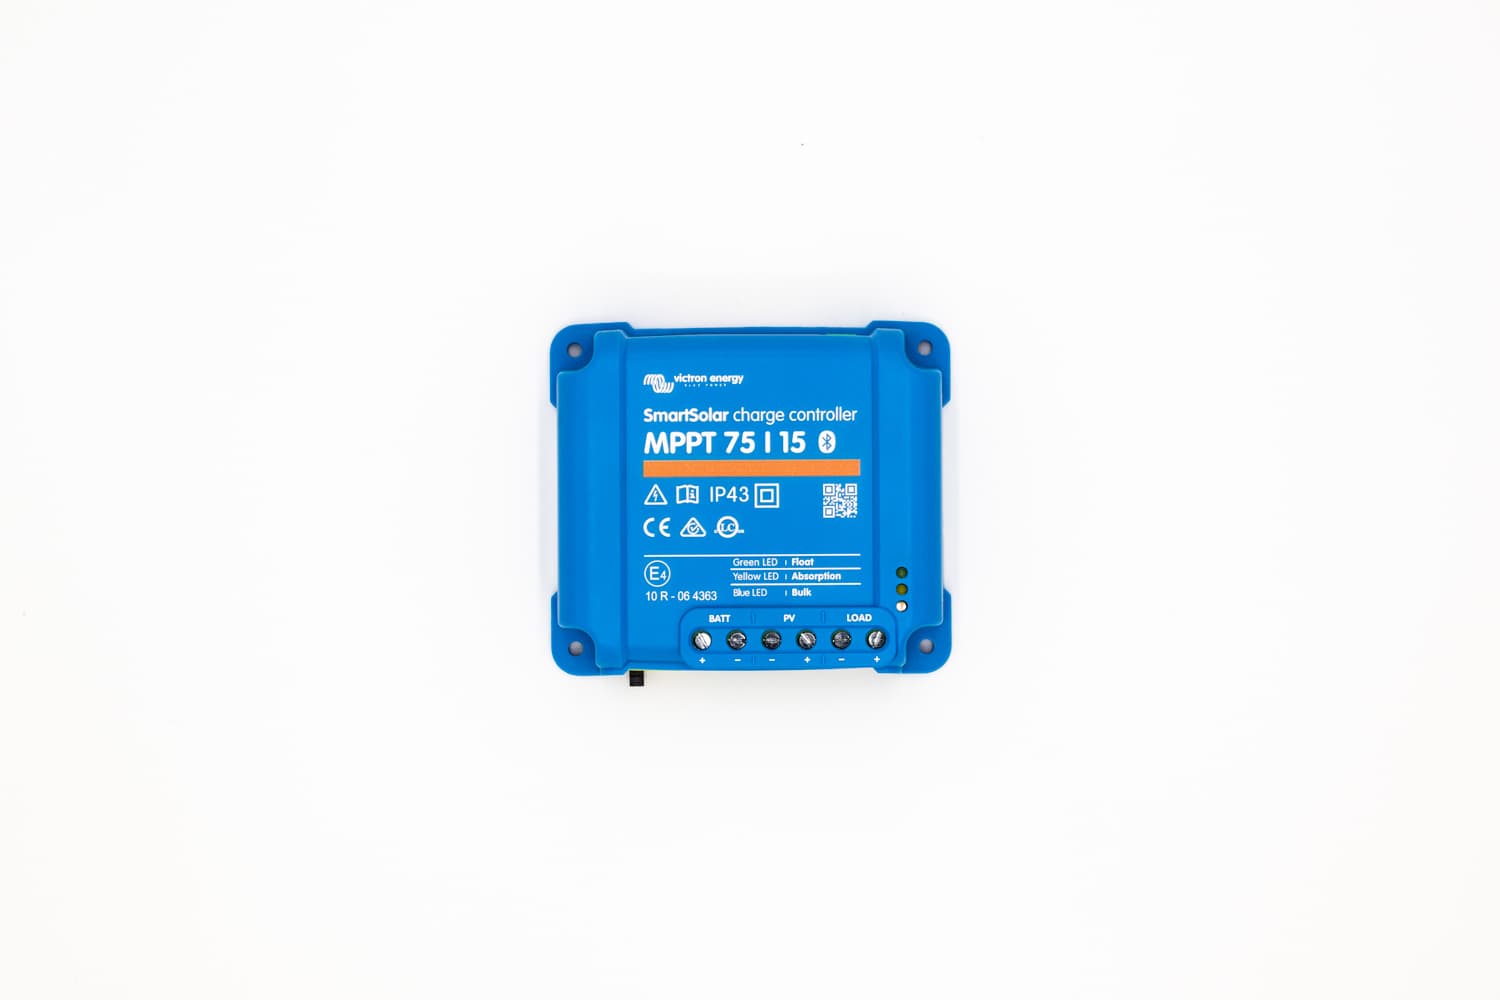
Supplied as a Victron SmartSolar 75|15, or 100|30 on the 275H. Terminals are marked PV and BATT — never swap them.
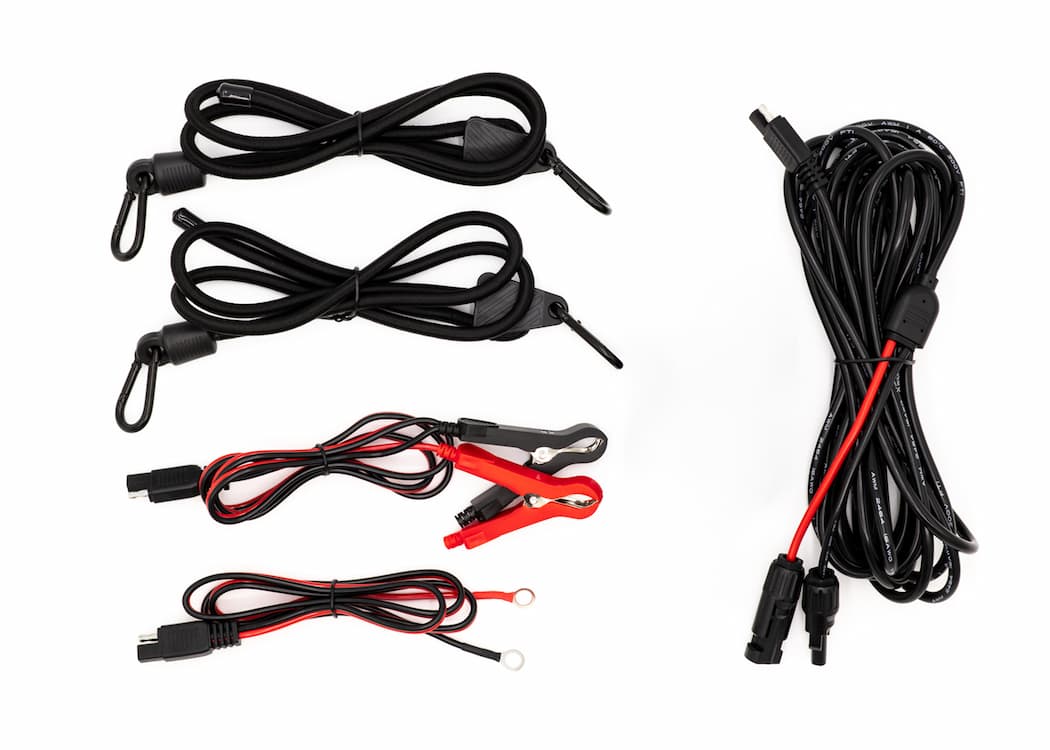
20 ft MC4 extension, Victron MC4 and SAE adapter cables, two 1 m battery cables (12 AWG, 25A fused), two bungee cords.
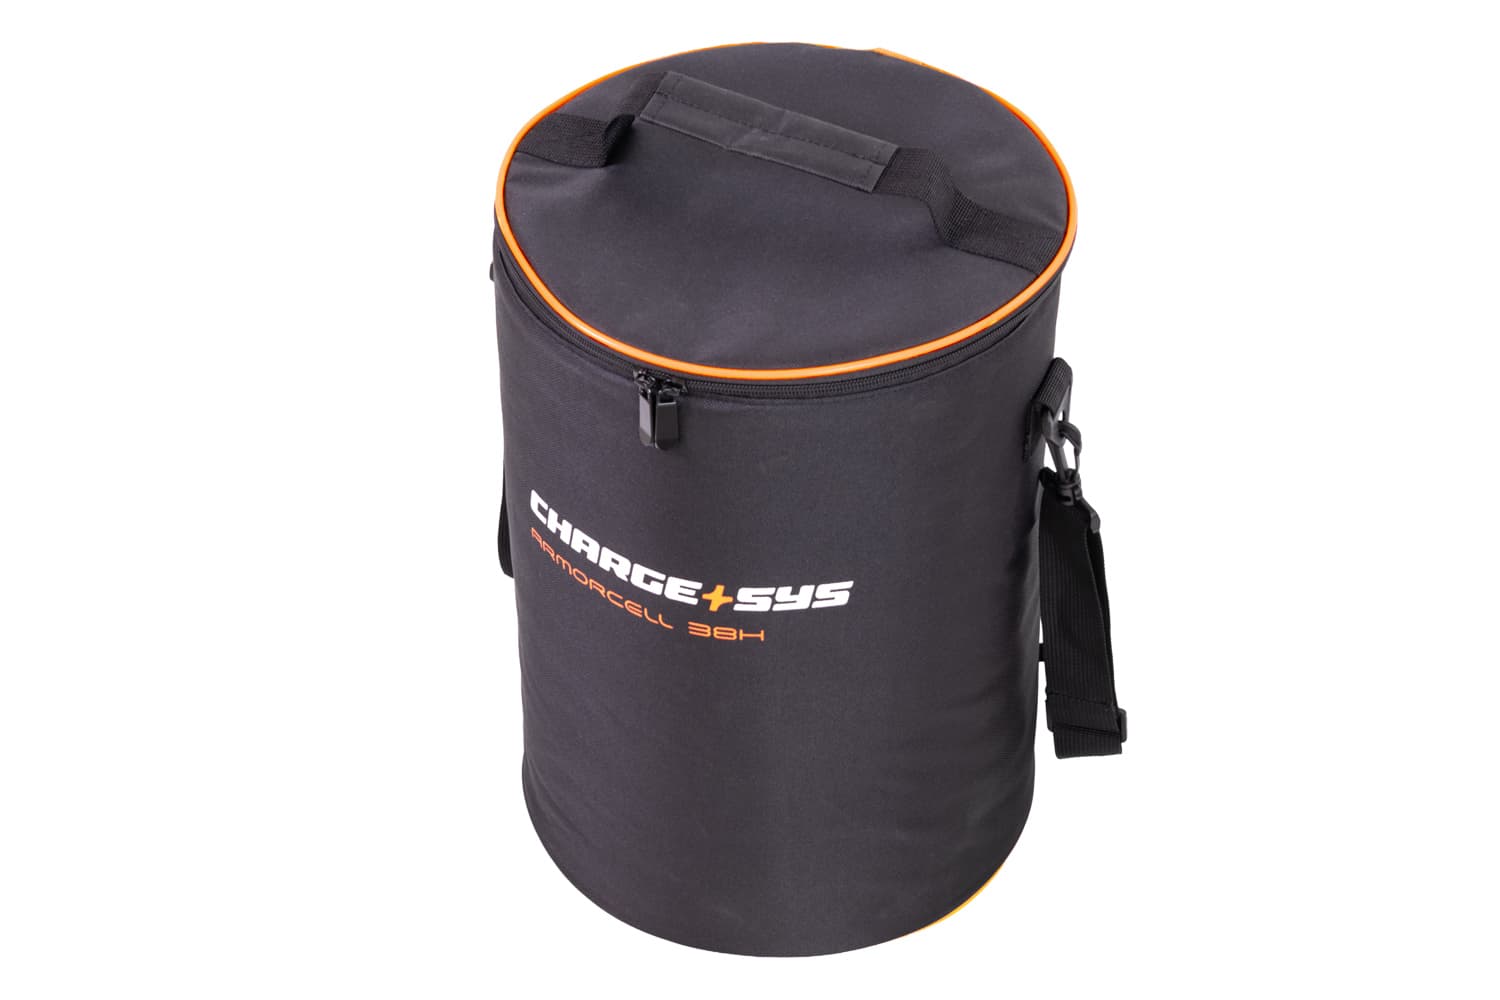
12 in diameter, with an accessory bag for cables and controller. Two velcro straps hold the roll.
Quick Start
Locate the controller in a dry, ventilated area with 4 inches clear above and below. Connect the Victron SAE adapter cable into the BATT terminals, then your chosen 1 m battery cable — clips or ring terminals — onto the battery. Positive first, then negative.
It should report battery voltage — typically 12.0–13.0V — before any solar is connected. If nothing happens, check the 25A fuse and the polarity before going further.
Victron MC4 adapter cable into the PV terminals, extension cable out to where the panel will sit. Route it clear of walkways and hot surfaces.
Face it square to the sun and clear of shadows, then lash it through the grommets with the bungee cords before connecting it.
Click the panel's MC4 connectors onto the extension cable until they latch. Charging starts immediately — the blue or yellow LED lights and the app shows PV watts.
Deploying & Securing
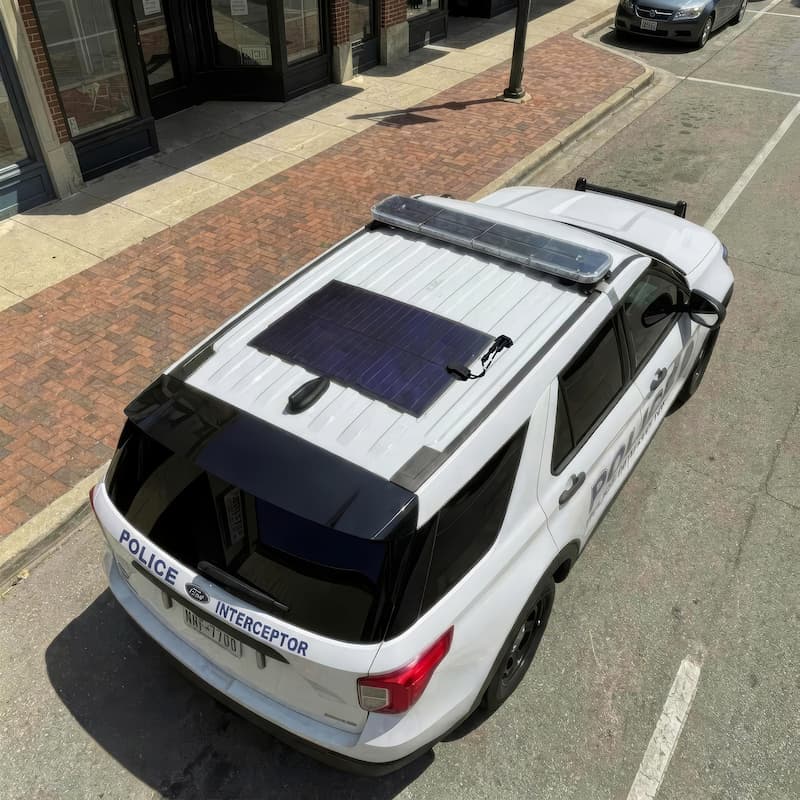
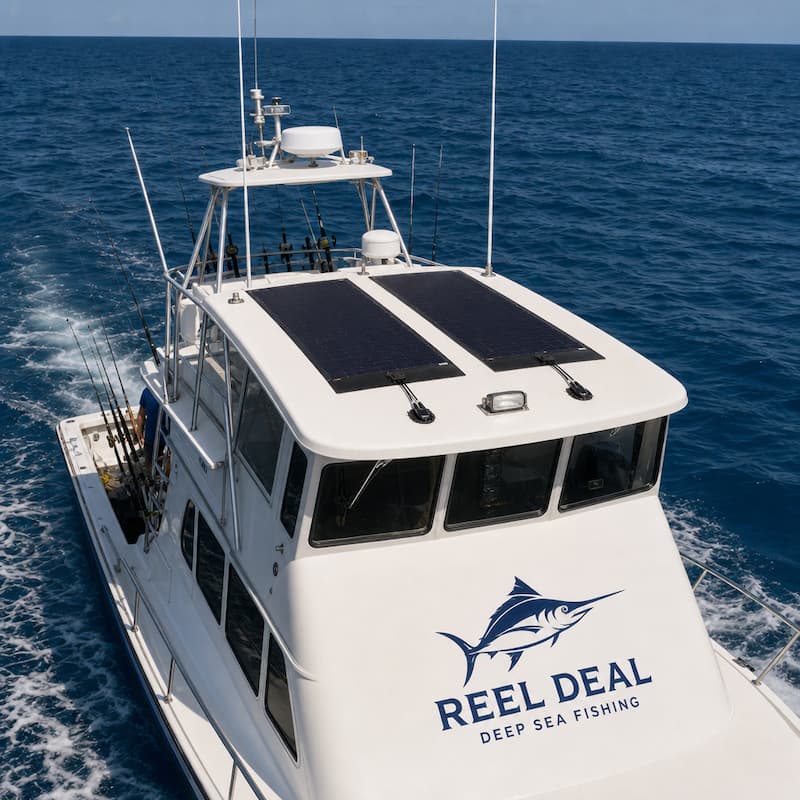
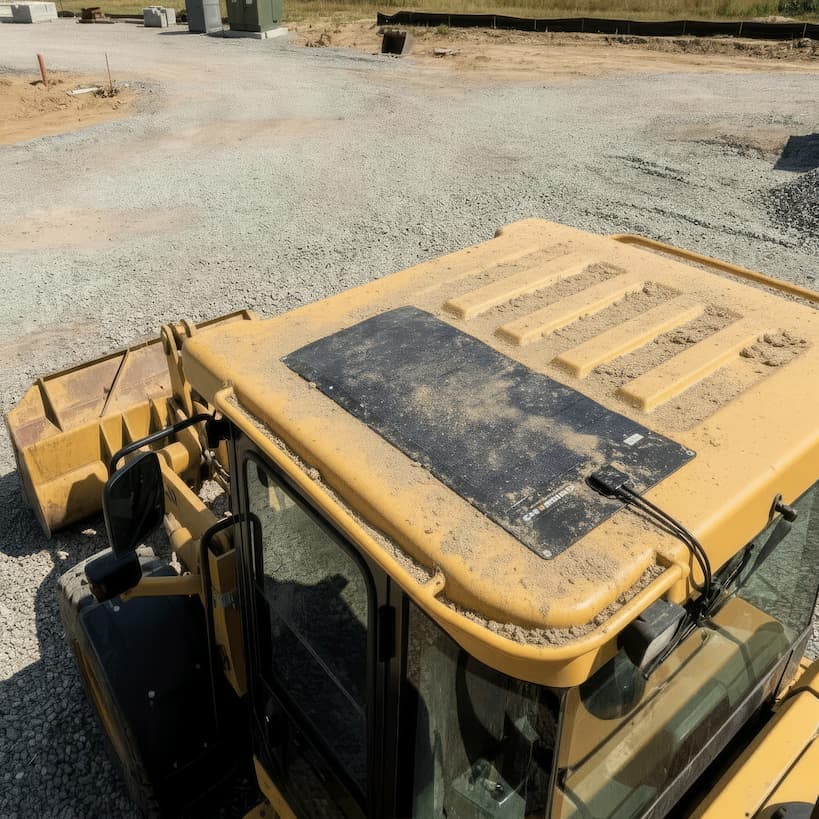
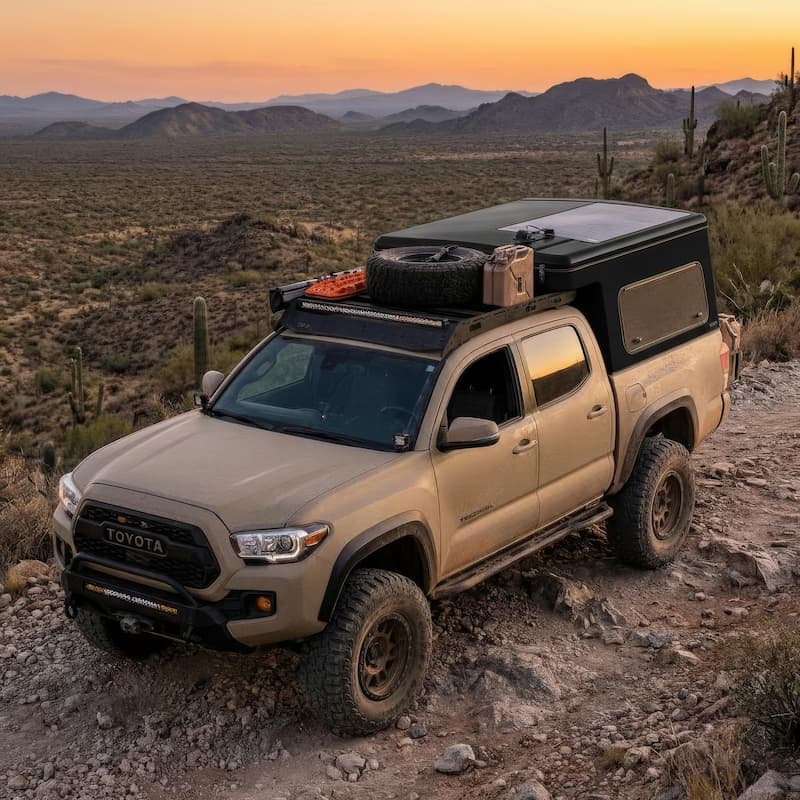
Pick a surface that stays in full sun for the hours you want to charge and that you don't need to walk across. Decks, cabin tops, hatches, hoods, trailer roofs, and flat ground all work — the smooth back sits directly on gelcoat, paint, or canvas without marking it.
Output is highest square-on to the sun. Prop the sun-side edge against a rail or cooler to tilt toward a low winter sun. CIGS tolerates partial shade better than rigid panels, but a hard shadow across the cells still costs output.
Carabiner into a corner grommet, cord to a rail, cleat, or rack bar, then take up the adjuster. Two cords hold the panel in normal wind; use all four grommets when it is gusty.
For a season in one place, fasten through the grommets with stainless hardware or lashing line — washer against the grommet, and never a new hole in the panel. Fastened at every grommet on a flat surface it takes considerably higher wind, but only if no edge or corner can lift.
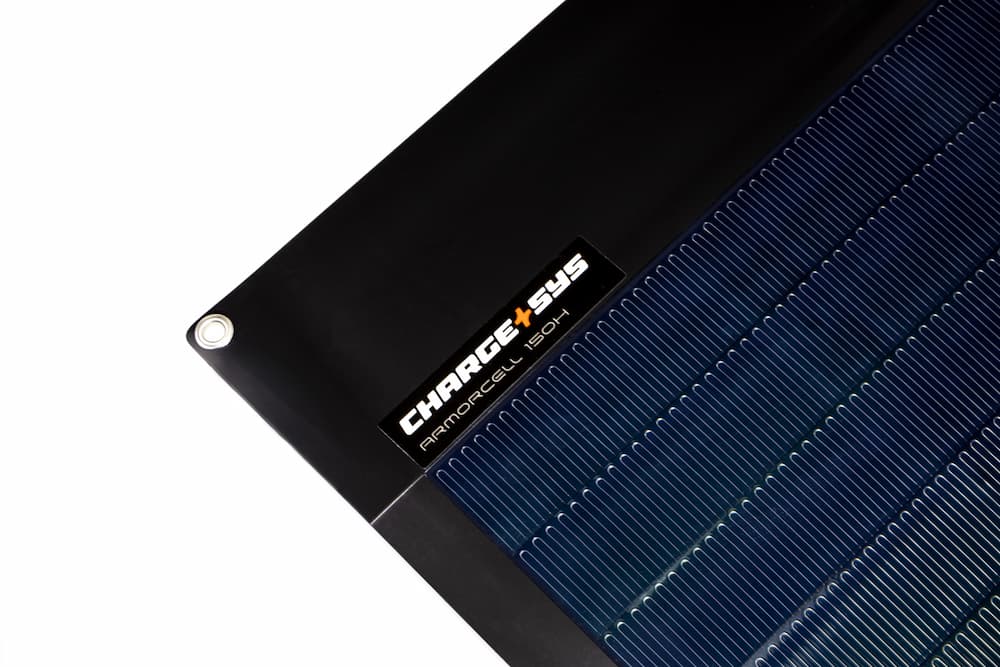
Lashed at every grommet with no edge free to lift, the panel can stay deployed at speeds up to 30 mph. Above that, stow it — or use a self-adhesive ARMORCELL panel, which ChargeSys recommends for high-speed applications.
The panel and its MC4 cables are IP68 waterproof — heavy rain, boarding seas, and periods of submersion are fine. The controller and battery cables are IP43: keep them dry and out of spray.
Wiring Diagram
Portable kits on a 12V DC battery system.
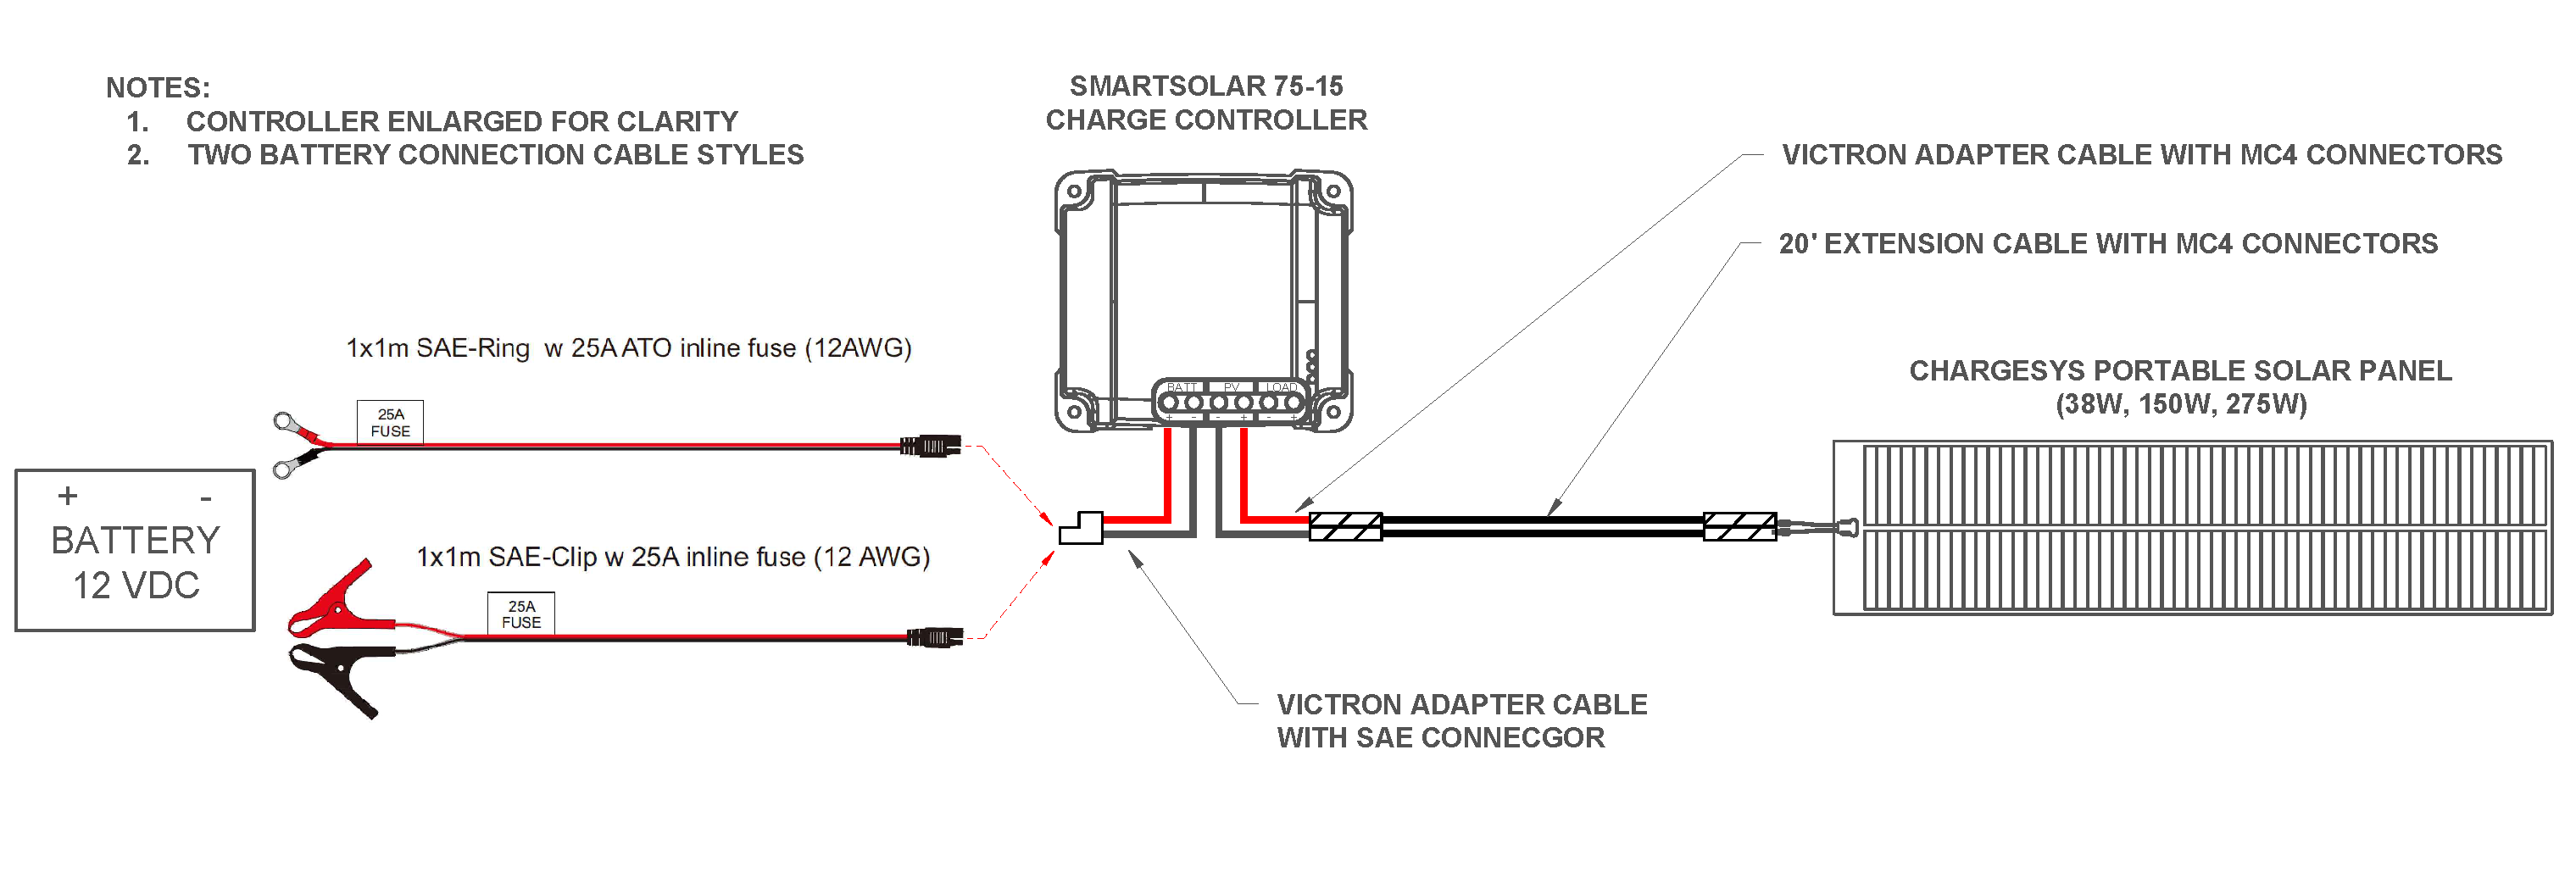
Battery connection
Two 1 m cable styles ship with every kit — SAE to ring terminals and SAE to insulated clips, each 12 AWG with a 25A inline fuse. Use one at a time.
Leaving the controller wired in
Many owners mount the controller permanently with the battery cable bolted on via ring terminals, and only the MC4 lead run outside. The panel then plugs in whenever you want to charge.
ACNC kits
Kits supplied without a controller omit the Victron adapter cables — the 20 ft extension connects to your own MPPT controller.
Charge Controller Setup
Whichever MPPT controller shipped with your kit, setting the correct battery type is the one step you should not skip. The charge settings below apply to any controller; the steps are for the Victron SmartSolar. If your kit shipped with a different ChargeSys-supplied controller, follow its own manual and use the same battery settings.
- Install VictronConnect from the App Store or Google Play.
- Enable Bluetooth and open the app — the controller appears whenever it is powered by the battery.
- Default PIN is 000000; change it on first connection. If it is rejected, use the PIN on the controller label.
- Open Settings → Battery and select Flooded, AGM, Gel, or Lithium.
- For lithium, confirm absorption and float against your battery manufacturer's specification.
| Battery | Absorption | Float | Temp comp. |
|---|
Roll, Stow & Care
- Disconnect the panel's MC4 connectors first, then release the bungee cords.
- Wipe the panel dry — rolling a wet panel into the bag traps moisture against the cells.
- Roll it with the cells facing out, never tighter than 10 in across (5 in radius). Never fold it.
- Fasten the two velcro cinch straps, then slide the roll into the carry bag.
- Coil the cables loosely, put them with the controller in the accessory bag, and stow it in the center of the carry bag roll.
Troubleshooting
Still stuck? Note the exact error code and the PV and battery readings from the controller app, then contact support with your kit SKU and serial number.
Technical Specifications
All data at STC: irradiance 1000 W/m², cell temperature 77°F (25°C), air mass AM 1.5.
| Spec | SK38H-ACV38W | SK150H-ACV150W | SK275H-ACV275W |
|---|
